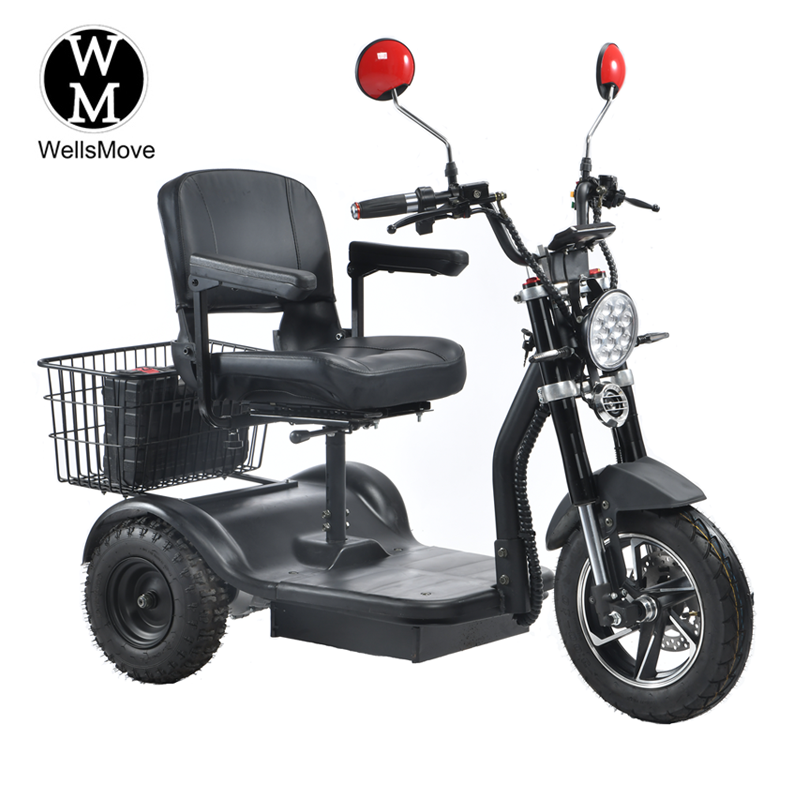
Mobility scooters have revolutionized the lifestyle of people with mobility impairments. These battery-powered vehicles provide independence and freedom to people with limited mobility. However, just like any other battery-powered device, an electric scooter’s battery needs to be tested regularly to ensure it is operating optimally. In this blog, we will discuss the importance of testing electric scooter batteries and provide a step-by-step guide on how to do it effectively.
The importance of testing mobility scooter batteries:
The battery is the heart of a scooter, and its performance directly affects the overall functionality of the scooter. Regular testing can help identify any potential issues with your battery, allowing for timely maintenance before it causes inconvenience or risk of failure. By testing your mobility scooter battery, you can maximize its lifespan and ensure it remains reliable and safe.
Step-by-step guide to testing your mobility scooter battery:
Step 1: Ensure safety precautions:
Before testing a battery, safety must be prioritized. Turn off the scooter and remove the key from the ignition to avoid any accidental movement during the test. Also, be sure to wear personal protective equipment such as gloves and goggles to prevent any accidents.
Step 2: Gather the necessary tools:
To test a mobility scooter battery, you will need a digital multimeter, also known as a voltmeter, which is a tool used to measure electrical potential differences. Make sure the voltmeter is fully charged or use new batteries to get an accurate reading.
Step 3: Access the battery:
Locate your mobility scooter’s battery. In most models, the battery is easily accessible by simply removing the cover or seat. However, if you are unsure of the exact location, consult the user manual provided by the manufacturer.
Step 4: Test battery voltage:
Set the voltmeter to the DC voltage measurement setting and connect the positive (+) and negative (-) leads of the voltmeter to the corresponding terminals on the battery. Note the current voltage reading of the battery. A fully charged mobility scooter battery should read between 12.6 and 12.8 volts. Anything significantly lower than this may indicate the need for charging or replacement.
Step 5: Load Test:
Load testing determines a battery’s ability to maintain a charge under a specific load. For this test, you will need a load tester device. Follow the manufacturer’s instructions to connect the load tester to your mobility scooter battery. Apply a load and watch the battery voltage drop. If the voltage remains stable, the battery is in good condition. However, a significant voltage drop may indicate a weak battery that requires attention.
Step 6: Analyze the results:
Based on the voltage readings and load test results, you can determine the overall health of your mobility scooter battery. If the reading indicates that the battery is low, it is recommended to consult a professional technician or contact the manufacturer for further guidance. They can suggest appropriate measures based on the battery’s condition, such as repairing the battery or replacing it.
Regularly testing your mobility scooter battery is essential to ensure a worry-free and safe experience. By following the step-by-step guide above, you can easily assess the health of your battery and take appropriate action. Remember, a well-maintained battery is key to enjoying optimal performance and extending the life of your mobility scooter. Take care of your battery and let it take care of you for more stress-free rides!
Post time: Nov-06-2023


